Cadu Ribeiro
Coffee addicted Software Engineer

Running Neovim with Devcontainers
- 8 minsIn this post, I will show you how you can use Neovim with DevContainers to simplify the development environment setup. DevContainers is an open specificationthat that allows containers to be used as a complete development environment with all tools necessary for the development lifecycle. To read more about DevContainers, check my previous post here or the official documentation here.
One thing that most people don’t know is that DevContainers is not only for VSCode. It is a specification that can be used with any editor or IDE (although the integration with VSCode has the best support).
For example, the video below shows DevContainers being used with RubyMine:
Let’s see how we can use Neovim with DevContainers.
The example project
We need Docker installed on our machine to run DevContainers. If you don’t have Docker installed, you can install it by following the instructions here.
We will create a new Ruby on Rails project for this example and use the new rails-new tool to generate the project. This tool is a new way to generate Rails applications even when you don’t have Ruby installed on your machine, as it uses Docker to run the generator (useful for people who don’t want to install Ruby on their machines and rely only on Docker). It is still in the experimental phase, but it is already usable. See here for installation instructions.
I’ve installed the rails-new tool on my machine using Cargo (the Rust package manager). If you don’t have Cargo installed, you can install it by following the instructions here.
cargo install --git https://github.com/rails/rails-new
Now, let’s create a new Rails project using the rails-new tool:
rails-new nvim-devcontainer-post -- --main -d postgresql
This command will create a new Rails project named nvim-devcontainer-post with the --main flag, which will use Rails’ main branch instead of the regular releases version, because the Rails on the main branch already generates a project with DevContainers configured by default (This will be available on Rails 8). The -d postgresql flag will configure the project to use PostgreSQL as the database.
After running this command, you will have a new Rails project with DevContainers configured. You can check that the .devcontainer folder was created with the necessary files for DevContainers.
➜  nvim-devcontainer-post git:(main) ✗ ls .devcontainer
Dockerfile        compose.yaml      devcontainer.json
Our project is ready for us to start using Neovim with DevContainers. You can even open the project in VSCode and see that the DevContainers is working:
Let’s destroy these containers so we can install more tools:
docker compose -f .devcontainer/compose.yaml down
Installing Neovim in the DevContainer
The way DevContainers work is by running the editor or IDE server inside the container, this way the editor or IDE can access all the tools installed in the container like Ruby, the language server (LSP), linting and formatting tools, etc. This is how VSCode and RubyMine work with DevContainers, they have their server running inside the container and communicate with the editor running on the host machine via remote editing. This is why we need to install Neovim in the DevContainer to use it with DevContainers.
If you read my previous post about DevContainers, you know that we can install additional tools in the DevContainer by adding them to the Dockerfile or even using DevContainer’s Features to install them. Both ways are valid, but I prefer to install them via Features.
I’ve created a repository with Features to install Neovim and Tmux in the DevContainer. You can check the repository here.
So, let’s install Neovim in our DevContainer using the Features. First, we need to edit the .devcontainer/devcontainer.json file and add the following content to the features key:
  "features": {
    "ghcr.io/devcontainers/features/github-cli:1": {},
    "ghcr.io/rails/devcontainer/features/activestorage": {},
    "ghcr.io/rails/devcontainer/features/postgres-client": {},
    "ghcr.io/duduribeiro/devcontainer-features/neovim:1": { "version": "nightly" },
  },
We’ve added the neovim Feature to the features key, the other three Features are the default Features that Rails added to the project when we created the project. I’ve used the nightly version of Neovim, because my Neovim configuration uses some features that are only available in the nightly version.
Starting the DevContainer
How can we start the DevContainer without needing to open the project in VSCode? We can use the devcontainers-cli to start the DevContainer from the command line without needing to open the project in VSCode.
You can install the devcontainers-cli by running the following command: (check here for more information on the installation process)
npm install -g @devcontainers/cli
The devcontainers-cli is a CLI tool that allows you to control DevContainers from the command line. It is still missing some features (like stopping the DevContainer), but you can already use it to start and execute commands in the DevContainer.
Let’s build and start our DevContainer using the devcontainers-cli:
devcontainer build --workspace-folder .

....

devcontainer up --workspace-folder .
This command will build the DevContainer and start it. After running this command you will receive the message with the outcome status:
[+] Running 4/4
 ✔ Container nvim_devcontainer_post-redis-1      Started                                                                                                                                 0.0s
 ✔ Container nvim_devcontainer_post-postgres-1   Started                                                                                                                                 0.0s
 ✔ Container nvim_devcontainer_post-selenium-1   Started                                                                                                                                 0.0s
 ✔ Container nvim_devcontainer_post-rails-app-1  Started                                                                                                                                 0.0s
{"outcome":"success", ...}
This means that the DevContainer was started successfully. Now we can execute commands in the DevContainer using the devcontainer exec command, like this:
devcontainer exec --workspace-folder . ls

Dockerfile  Gemfile  Gemfile.lock  README.md  Rakefile	app  bin  config  config.ru  db  lib  log  public  storage  test  tmp  vendor
we see that the ls command was executed in the DevContainer and we received the output with the files in the root of the project.
Different from VSCode or RubyMine that have a client running on the host machine that communicates with the server running in the container, Neovim will run inside the container and we access it via the terminal. This may can change in the future if they implement a remote editing feature that allows us to run the server in the container and the client on the host machine, but for now, we need to run Neovim using the devcontainer-cli.
devcontainer exec --workspace-folder . nvim
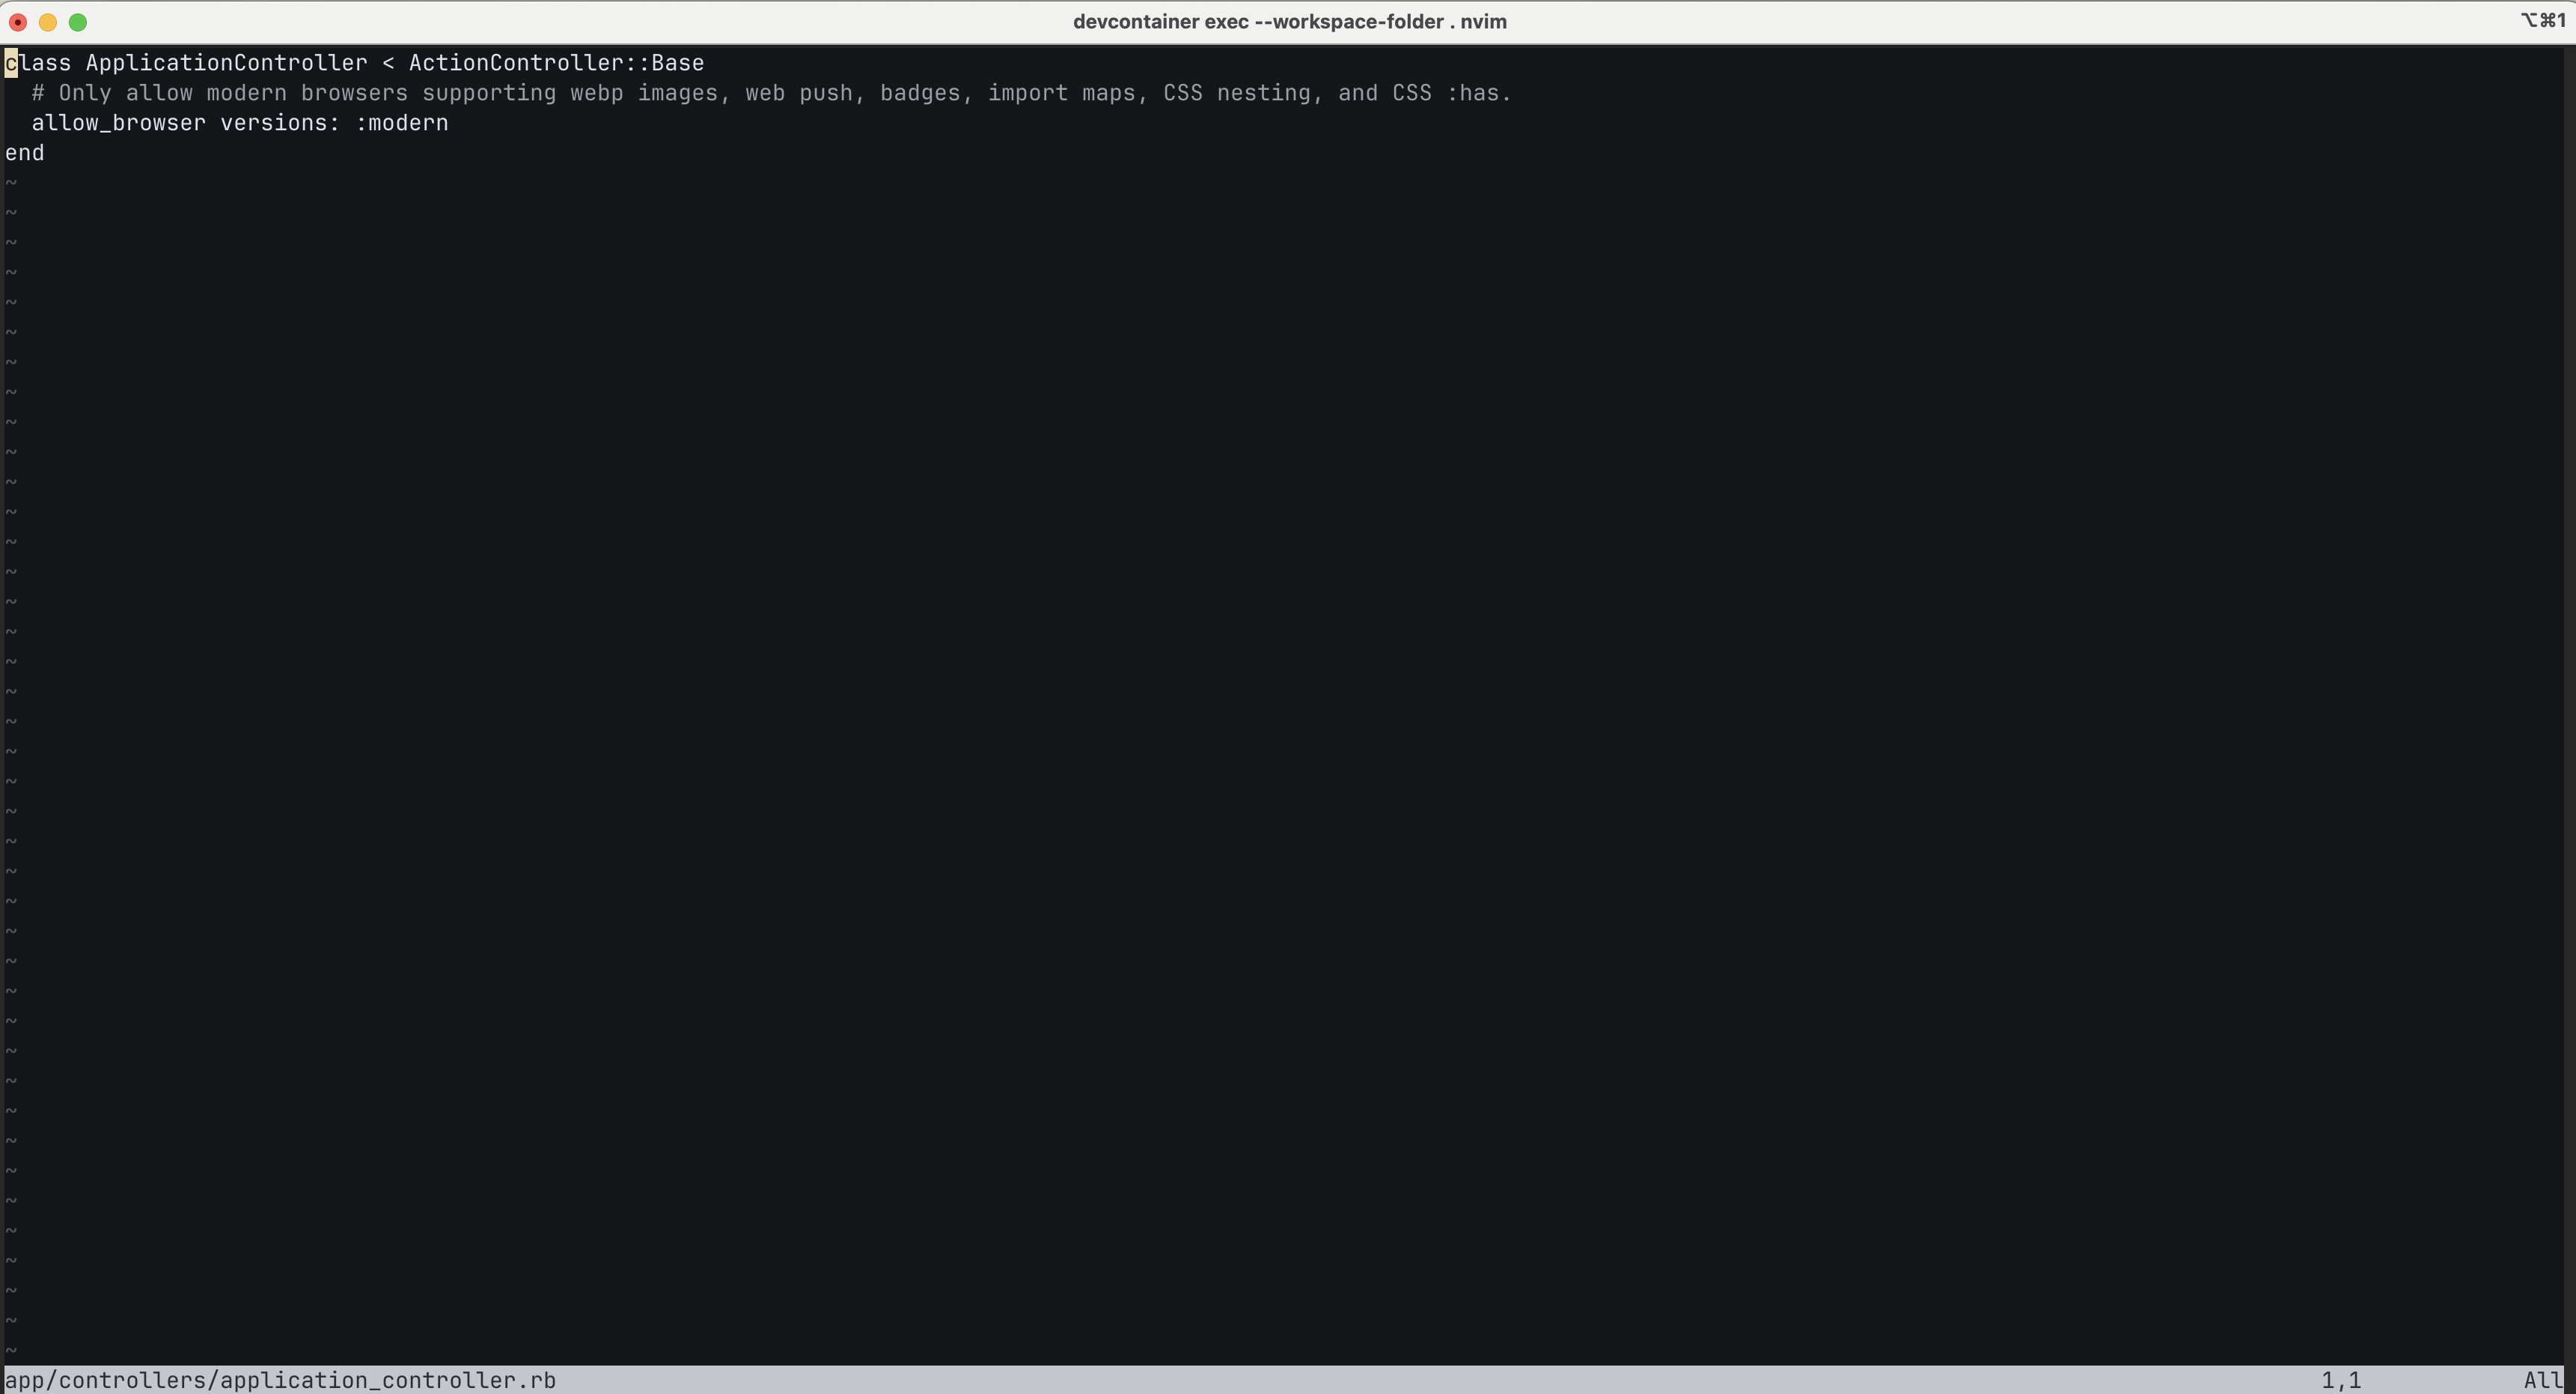
Neovim is now running inside the DevContainer and we can use it to edit files in the project:

But this is not using any configuration or plugins because we are running Neovim in the DevContainer and we don’t have any configuration files or plugins installed there. You can install your Neovim configuration in the DevContainer manually via terminal but everytime that you need to rebuild the container you will need to install it again. A solution for this is to copy your Neovim configuration from your host machine to the DevContainer.
I have my Neovim configurations in my machine at ~/.config/nvim, so I can copy it to the DevContainer during the start process. Let’s see how we can do this.
Before, let’s stop our containers:
docker compose -f .devcontainer/compose.yaml down
Copying Neovim configuration to the DevContainer
To copy the Neovim configuration from the host machine to the DevContainer, we can specify mount points during the devcontainer up command. This is how I do:
devcontainer up --mount "type=bind,source=$HOME/.config/nvim,target=/home/vscode/.config/nvim" --workspace-folder .
DevContainers has a way to specify mount points on the .devcontainer/devcontainer.json file (see the json reference and look for mounts) but it didn’t work for me, so I use the --mount flag in the devcontainer up command.
This command will mount the ~/.config/nvim folder from the host machine to the /home/vscode/.config/nvim folder in the DevContainer. Now we can run Neovim with our configuration:
devcontainer exec --workspace-folder . nvim
And this is how Neovim is running with my configuration in the DevContainer, with all my plugins and settings and even running the LSP:
This is how I use Neovim with DevContainers and I hope this post helps you with this config too. DevContainers is a great tool to simplify the development environment setup and I think (and hope) that most editors and IDEs will support it in the future.