
Cadu Ribeiro
Coffee addicted Software Engineer

Creating review apps per pull requests
- 16 minsIn this post I will show a simple example about how to create apps for each pull request (or, creating your own Gitlab/Heroku Review App).
Let’s imagine the following scenario of a development team:
- Developer creates a new feature branch.
- Developer pushes the branch
- Developer opens a pull request so other developers can check his code and test the feature
- CI runs the tests and makes the branch green if it passes
Now the developer should send the feature to someone else to test it. The feature should not be merged into master so it can be tested. They should be tested isolated because one feature can interfere with another and master should only have deployable code. With this in mind, we will create an environment for each pull request using Docker.
I will use Jenkins as CI because I want to use an open source tool to demonstrate this, but you can use any CI tool that you prefer.
This post will assume that you already have Jenkins installed. I will use this opensource Rails application as an example. Fork this repo into your account and clone it in your computer.
git clone https://github.com/yourgithubusername/opensanca_jobs.gitYou can get the full code repo that I used on https://github.com/duduribeiro/openjobs_jenkins_test
Configuring Docker
The first step that we need is to configuring our app with docker.
A Dockerfile is a file that has instructions to build an image that contains our application. You can learn more about Docker in their documentation.
Create a file named Dockerfile in the app folder:
FROM ruby:2.4.1
MAINTAINER mail@carlosribeiro.me

RUN curl -sS http://dl.yarnpkg.com/debian/pubkey.gpg | apt-key add - \
&& curl -sL http://deb.nodesource.com/setup_6.x | bash - \
&& echo "deb http://dl.yarnpkg.com/debian/ stable main" | tee /etc/apt/sources.list.d/yarn.list \
&& apt-get update \
&& apt-get install -y \
  build-essential \
  imagemagick \
  nodejs \
  yarn

RUN mkdir -p /var/app
COPY . /var/app
WORKDIR /var/app

RUN bundle install && yarn
RUN bundle exec rake assets:precompile
CMD rails s -b 0.0.0.0
This is our instructions to build an image. The first command FROM specifies to docker that we will use the image ruby:2.4.1 as our base image.
After, the first RUN command installs all dependencies the app needs: yarn, imagemagick and node (to precompile the assets. A fancy solution is to use a different container only with node and sprockets to precompile the assets). The second RUN command, creates a folder /var/app that will be responsible to store the application. The COPY command moves the current folder to the container in the /var/app folder. The next RUN command installs all dependencies from Rails and yarn. The CMD specify the command that the container should execute when it runs the image. You can learn more about Dockerfile here.
With this file we can build our image.
docker build -t myimage .With this command, we are building our Dockerfile and generating an image with the tag myimage.
Running docker image ls we can check our image.

Now we can start our application:
docker run -d -p 3000:3000 myimageThe -d option tells to docker that this container will run in background and -p 3000:3000 will connect the local port 3000 with the exposed 3000 port from the container.
We can navigate now to http://localhost:3000.
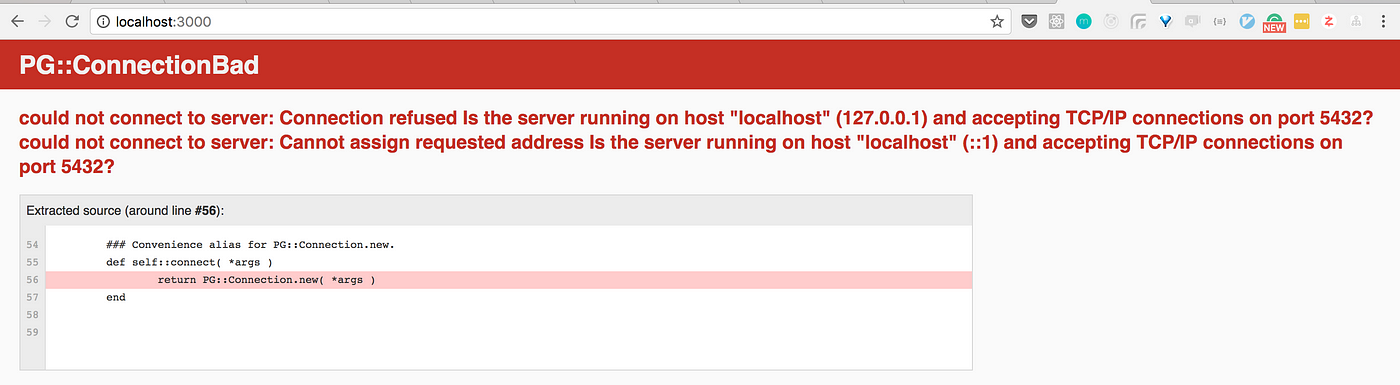
And we receive this error. This is because our app requires a database connection. We need to run a new container with the database and link both containers so they can communicate with each other. Each container should have only one purpose, so, you should not run more than 1 service in a single container (ie: a container with the application and the database).
Instead of manually run each container, we will use docker compose, a tool to help us to run multi containers applications.
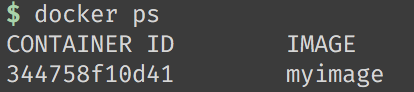
Use docker ps and docker kill to destroy your application container.

Create a docker-compose.yml file:
version: '3'
services:
  db:
    image: postgres
    volumes:
      - /tmp/postgres_data:/var/lib/postgresql/data

  redis:
    image: redis

  web:
    build: .
    command: bundle exec rails s -p 3000 -b '0.0.0.0'
    volumes:
      - .:/myapp
    ports:
      - "3000:3000"
    depends_on:
      - db
      - redis
    links:
      - db
      - redis
    environment:
      DATABASE_URL: postgres://postgres:@db/
      REDIS_URL: redis://redis:6379
In this file, we are creating 2 services. One for the database using the postgres image, and another one with our web application using our Dockerfile image.
In the environment item on web service, I’m setting the DATABASE_URL environment variable. If this environment variable is set, rails will use it replacing the loaded configurations from config/database.yml. Read more about this here. DATABASE_URL follows this pattern for postgres:
postgres://user:password@host/database_name. Since our database user does not have password, we leave empty after the :. We don’t fill the database_name because we want the configured one in config/database.yml (one database name per environment).
Create the databases and run the migrations:
docker-compose run --rm web rake db:create db:migrateIn this command, we will run a container with the web service and execute the command rake db:create db:migrate. The --rm option is to remove the container after the execution.
Run the tests:
docker-compose run --rm -e RAILS_ENV=test web rake db:drop db:create db:migrate

docker-compose run --rm web rspec
Now we can start the application:
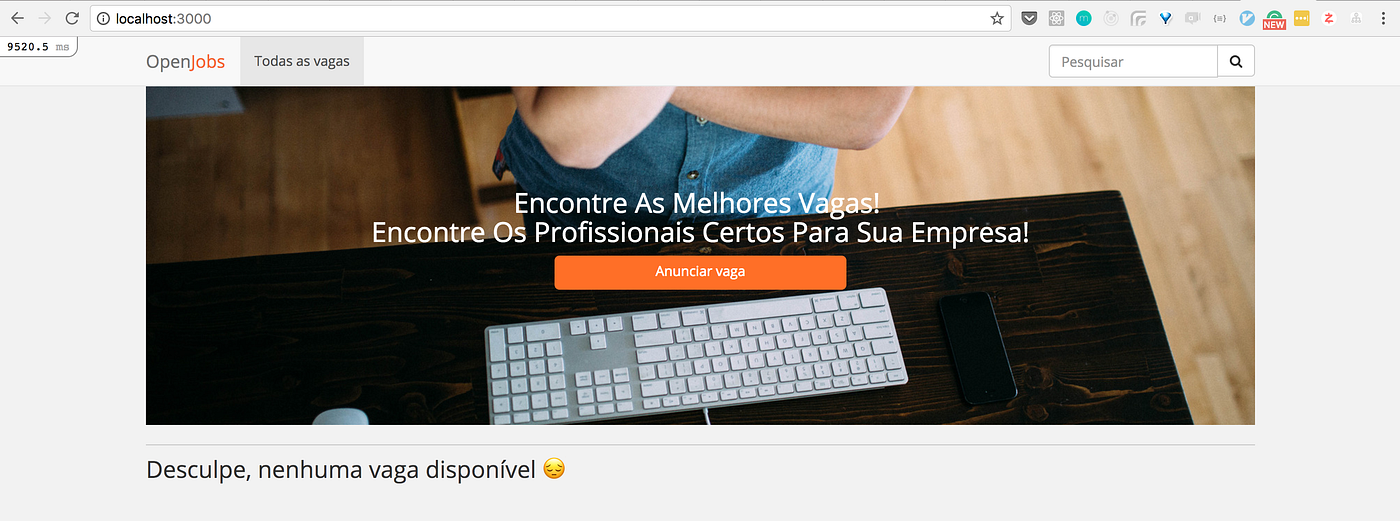
docker-compose upAccess http://localhost:3000 again and now our app is working.
Configuring our pipeline
We will use Jenkins pipeline as code to configure our pipeline. Read more about it here. We need to have docker, jq and Jenkins installed on CI server.
We will use the following Jenkins plugins: Blue Ocean, Blue Ocean Pipeline Editor, GitHub Pipeline for Blue Ocean
Create a file named Jenkinsfile in the project root with the following content:
pipeline {
agent any
stages {
stage('Build') {
steps {
sh 'docker build -t openjobs:latest .'
sh 'docker-compose build'
sh 'docker-compose run web bundle install'
sh 'docker-compose run web yarn'
sh 'docker-compose run -e RAILS_ENV=test --rm web bundle exec rake db:drop db:create db:migrate'
}
}
stage('Tests') {
steps {
parallel(
"Unit Tests": {
sh 'docker-compose run --name unit --rm web rspec --exclude-pattern "**/features/*_spec.rb"'
},
"Feature tests": {
sh 'docker-compose run --name feature --rm web rspec spec/features/'
}
)
}
}
stage('Deploy to Staging') {
when {
expression { env.BRANCH_NAME == 'master' }
}
steps {
echo 'todo: deploy to staging'
}
}
stage('Create feature environment') {
when {
expression { env.BRANCH_NAME != 'master' }
}
steps {
echo 'todo: create custom environment'
}
}
}
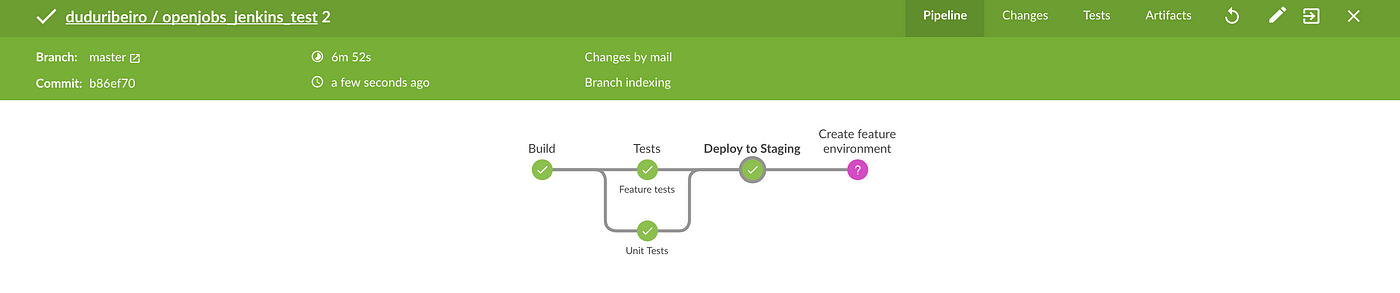
}We have 4 stages on this pipeline:
Build: It will build our Dockerfile and generate an image from this build tagged with openjobs with version named latest . It will use docker-compose to build, install dependencies, create and migrate the database created with compose .Tests: It will run 2 parallel steps, one to run unit tests, and another to run feature tests.Deploy to staging: If it is the master branch, it will deploy the app to staging.domain . We will cover this in the next steps.Create feature environment: If it isn’t the master branch, it will deploy the app to branchname.domain . We will cover this in the next steps.
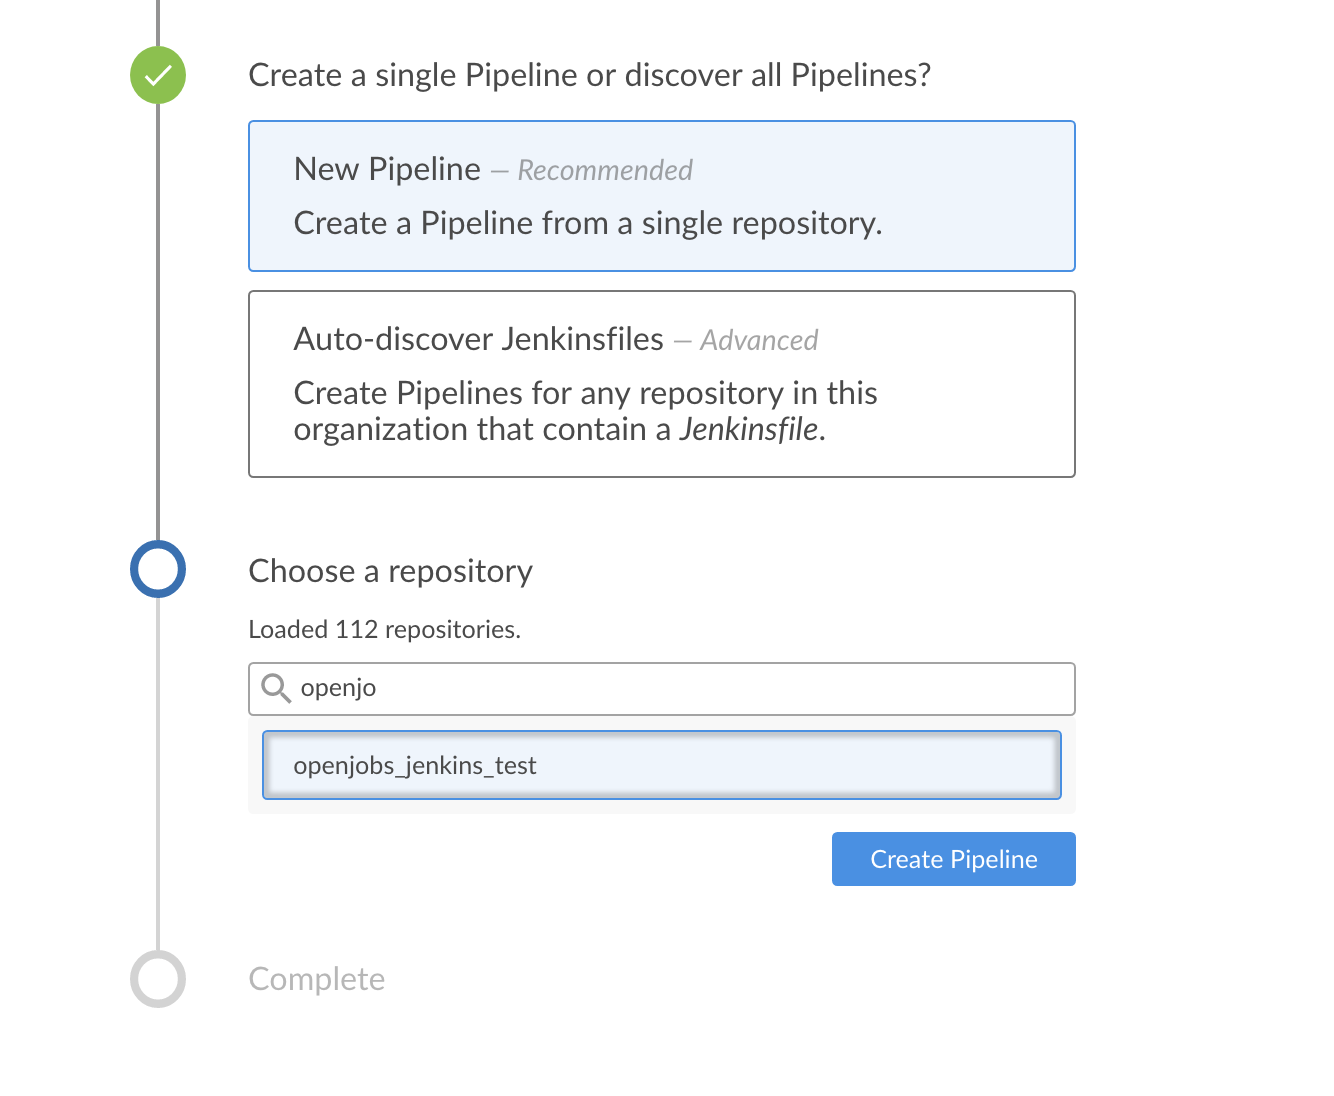
Let’s create our pipeline on Jenkins. Push your code, go to your Jenkins, and access the blue ocean interface and click in the New Pipeline button:

In the next screen, select Github, choose you account and find the repository. Click in Create Pipeline
And our build is passing 🎉

The red icon on the build is because this step will not run, since the branch built was master.
Now we need to create our environments after the build and dynamic route a domain to a specific container.
Entering, Traefik

Traefik is a tool that will help us make the dynamic routing and act as a load balancer. Example: If I access http://mybranch.mydomain.com, I want to access the container containing the app with mybranch that should be started by Jenkins.
Creating dynamic environments
The following steps should be executed on CI server.
We will use Docker Swarm. It is very helpful to create a docker cluster. I will use only one server to demonstrate, but you are able also to create a cluster.
Initialize swarm cluster:
docker swarm init --advertise-addr=10.10.0.5This will initialize our server as the swarm master. It will generate a command that you can use to join the cluster in other servers.
Create a network that we can use with traefik and our containers:
docker network create --driver=overlay --attachable traefik-netInitialize traefik:
docker service create \
--name traefik \
--constraint 'node.role==manager' \
--publish 80:80 \
--publish 8081:8080 \
--mount type=bind,source=/var/run/docker.sock,target=/var/run/docker.sock \
--network traefik-net \
traefik \
--docker \
--docker.swarmmode \
--docker.domain=apps.carlosribeiro.me \
--docker.watch \
--logLevel=DEBUG \
--web
This will initialize traefik. You should treat this initialization on some startup script on your server.
If we access our server in 8081 port, we can access traefik dashboard.
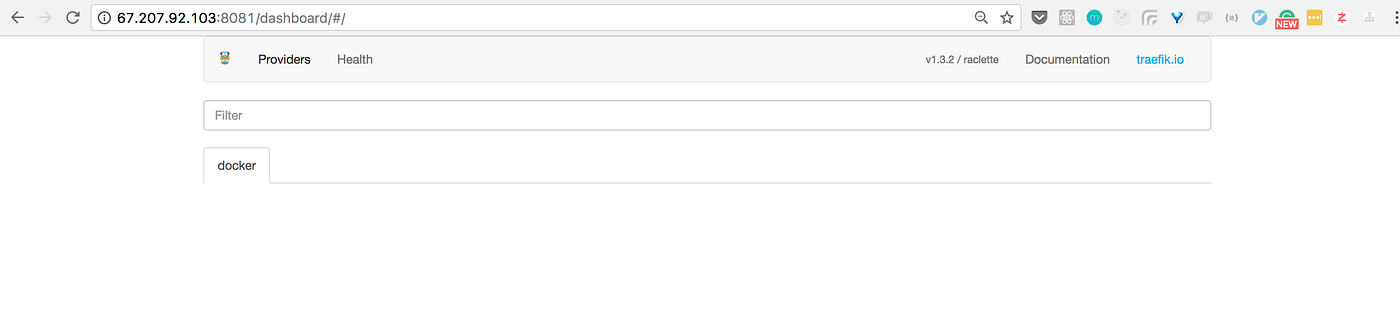
The docker.domain specify that we will access the apps through appname.apps.carlosribeiro.me. To allow this, I created two alias on my DNS server pointing to the CI server’s IP:
- apps.carlosribeiro.me
- *.apps.carlosribeiro.me
Editing Jenkinsfile to create the environments
Lets add a method on Jenkinsfile that will create a environment when the build is triggered.
def createEnvironment(name) {
  sh "docker-compose down"
  sh "docker service rm ${name} || :"
  sh "docker service rm ${name}-pg || :"
  sh "docker service rm ${name}-redis || :"
  sh script: """\
    docker service create \
    --name ${name}-pg \
    --network traefik-net \
    postgres \
  """
  sh script: """\
    docker service create \
    --name ${name}-redis \
    --network traefik-net \
    redis \
  """
  sh script: """\
    docker service create \
    --name ${name} \
    -e REDIS_URL='redis://${name}-redis:6379' \
    -e DATABASE_URL='postgresql://postgres@${name}-pg/openjobs' \
    -e RAILS_ENV='production' \
    -e SECRET_KEY_BASE='5062c5efb655ca4e40512dc46b5167d7cea579a84160134813583ec1c339c3e390cbcfcf6ae7e31332e6fef9b4654d5068a1fd0a352beff2b1e8f0270908a3bd' \
    -e RAILS_SERVE_STATIC_FILES=true \
    --label 'traefik.port=3000' \
    --network traefik-net \
    openjobs:latest \
  """

  sh "docker run -e RAILS_ENV=production -e DATABASE_URL=postgresql://postgres@${name}-pg/openjobs --network traefik-net --rm openjobs:latest rake db:create db:migrate assets:precompile"
}
This method will accept an argument to inform the name of the environment. This name will be used to prefix the services name. It will stop all docker-compose containers that are still running. After, it will remove if exist, services with the same name (This is to recreate the environment when we push again to the branch). After, we create 3 services. One for Postgres, another for Redis, and the app itself using the imaged that we built on build step. The last command, runs a temporary docker container to create and migrate the database and precompile the assets (you can fetch your previously dump from production too).
Look that in the app service, we specify some environment variables.
REDIS_URL, DATABASE_URL: Endpoint to connect in both services using the previously created services hosts.RAILS_ENV: We set it to production . It will enforce that our app should behave like a production environment.RAILS_SERVE_STATIC_FILES: Since we will not have a nginx in front of the app server, we need to set this to tell rails to service static files for us.
-> label ‘traefik.port’ will inform traefik what is the container’s exposed port. In our case, is the 3000. -> name inform the service name that traefik will identify as the prefix on domain.
Now, lets call this method on our pipeline’s stages.
stage('Deploy to Staging') {
  when {
    expression { env.BRANCH_NAME == 'master' }
  }
  steps {
    echo 'deploy to staging'
    createEnvironment('staging')
  }
}

stage('Create feature environment') {
  when {
    expression { env.BRANCH_NAME != 'master' }
  }

  steps {
    echo 'create custom environment'
    createEnvironment(env.BRANCH_NAME)
  }
}
If it is master branch, we will deploy into an app called staging. If not, it will call the app with the same name of branch.
Look the final Jenkinsfile:
pipeline {
agent any
stages {
stage('Build') {
steps {
sh 'docker build -t openjobs:latest .'
sh 'docker-compose build'
sh 'docker-compose run web bundle install'
sh 'docker-compose run web yarn'
sh 'docker-compose run -e RAILS_ENV=test --rm web bundle exec rake db:drop db:create db:migrate'
}
}
stage('Tests') {
steps {
parallel(
"Unit Tests": {
sh 'docker-compose run --name unit --rm web rspec --exclude-pattern "**/features/*_spec.rb"'
},
"Feature tests": {
sh 'docker-compose run --name feature --rm web rspec spec/features/'
}
)
}
}
stage('Deploy to Staging') {
when {
expression { env.BRANCH_NAME == 'master' }
}
steps {
echo 'deploy to staging'
createEnvironment('staging')
}
}
stage('Create feature environment') {
when {
expression { env.BRANCH_NAME != 'master' }
}
steps {
echo 'create custom environment'
createEnvironment(env.BRANCH_NAME)
}
}
}
}
def createEnvironment(name) {
sh "docker-compose down"
sh "docker service rm ${name} || :"
sh "docker service rm ${name}-pg || :"
sh "docker service rm ${name}-redis || :"
sh script: """\
docker service create \
--name ${name}-pg \
--network traefik-net \
postgres \
"""
sh script: """\
docker service create \
--name ${name}-redis \
--network traefik-net \
redis \
"""
sh script: """\
docker service create \
--name ${name} \
-e REDIS_URL='redis://${name}-redis:6379' \
-e DATABASE_URL='postgresql://postgres@${name}-pg/openjobs' \
-e RAILS_ENV='production' \
-e SECRET_KEY_BASE='5062c5efb655ca4e40512dc46b5167d7cea579a84160134813583ec1c339c3e390cbcfcf6ae7e31332e6fef9b4654d5068a1fd0a352beff2b1e8f0270908a3bd' \
-e RAILS_SERVE_STATIC_FILES=true \
--label 'traefik.port=3000' \
--network traefik-net \
openjobs:latest \
"""
sh "docker run -e RAILS_ENV=production -e DATABASE_URL=postgresql://postgres@${name}-pg/openjobs --network traefik-net --rm openjobs:latest rake db:create db:migrate assets:precompile"
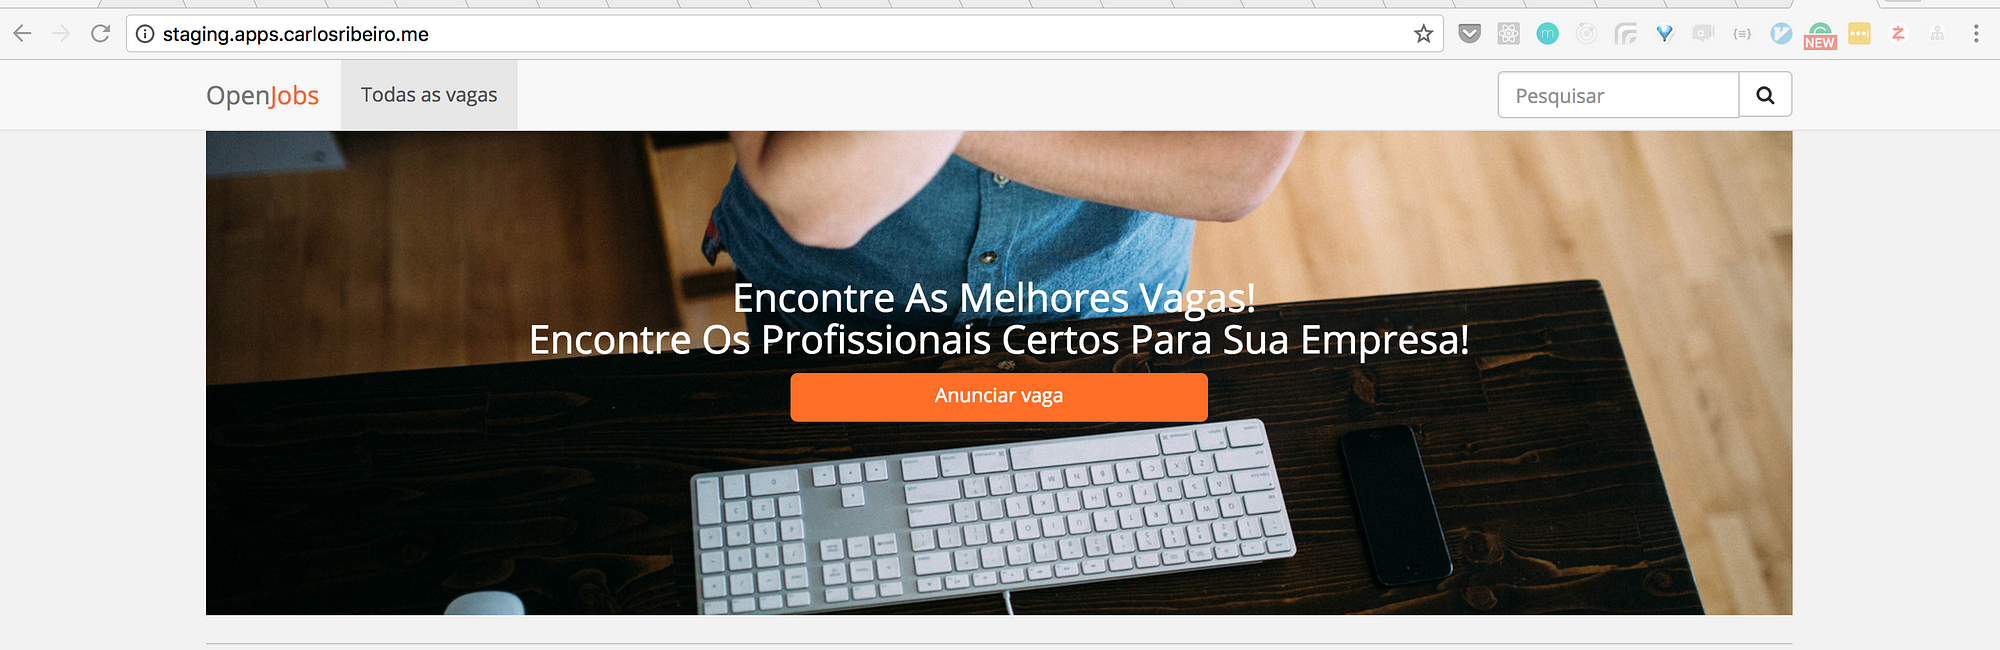
}Push master and let’s wait Jenkins create our staging for us.
Our build passes…
… and our app is deployed on staging:
Now let’s open a pull request to change this button color.
git checkout -b 01-change-button-colorEdit app/assets/stylesheets/application.scss
.btn-register-vacancy {
  background-color: #2769ff;
  width: 300px;
  height: 35px;
  border-radius: 5px;
}
Push this branch, and open a pull request.
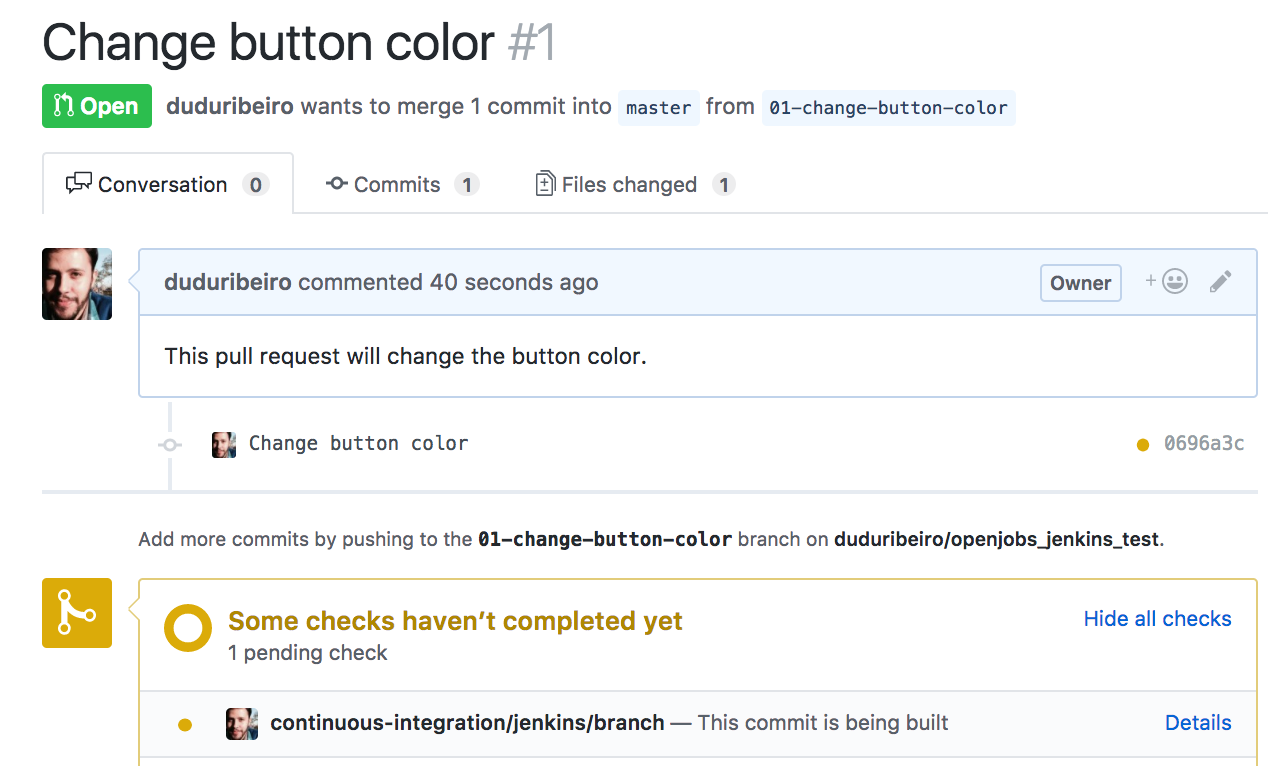
Github will tell us that the build is pending.
Job is passing

and Github is informed:

And now we have our dynamic environment up and running
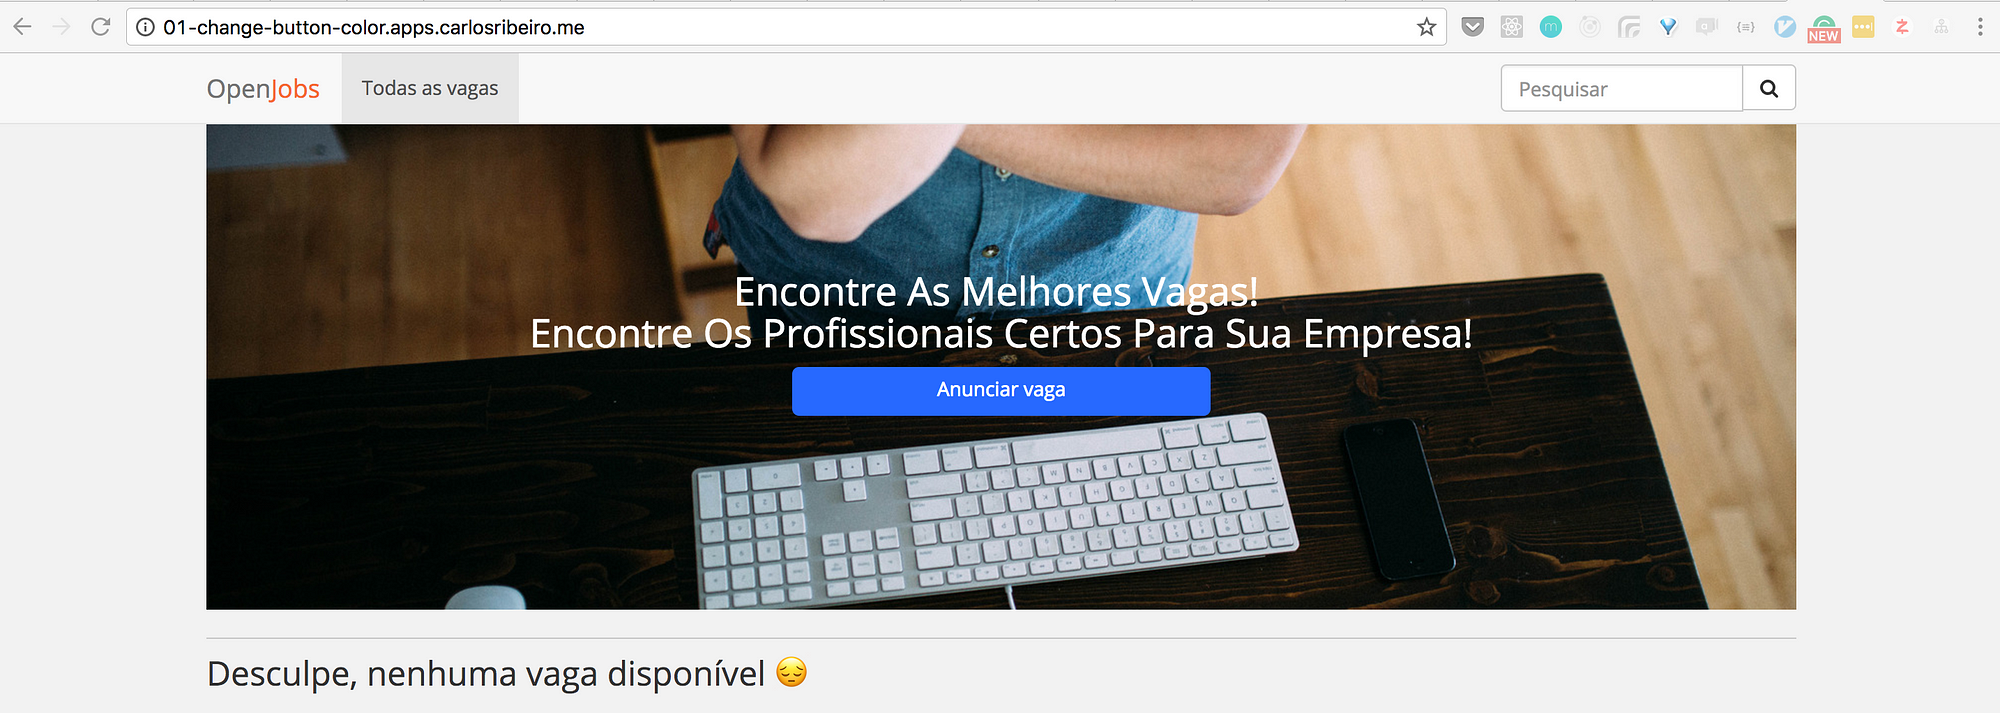
I can send this URL to a QA or a PO review it before merging. If something is wrong, it can be validated before it is on master.
That’s all
Cheers, 🍻